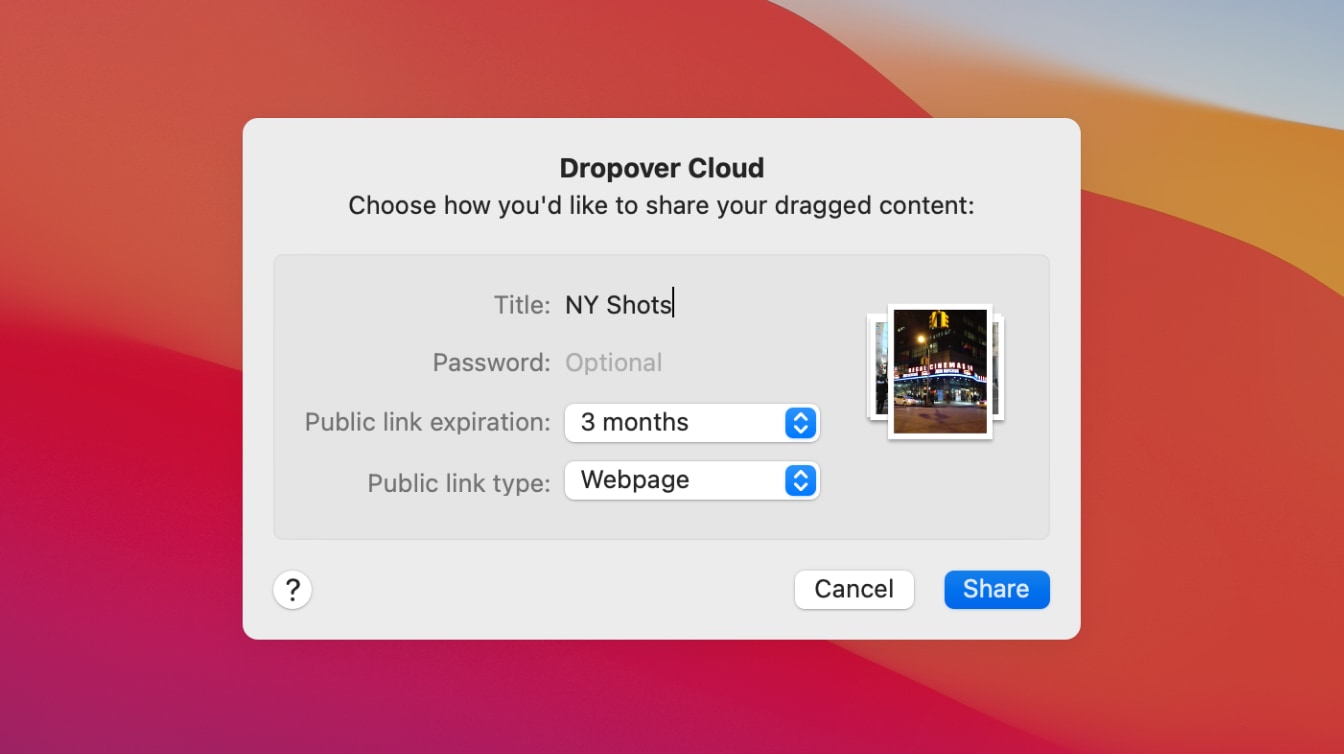
Shake. Drag. Drop.
Using Dropover couldn't be simpler: Just shake your cursor and drop whatever you are dragging onto the shelf. Then simply navigate stress-free to your destination and move all items at once when read
Intuitive design
Integrated seamlessly into macOS, the shelf appears when needed and stays hidden when not. blender for dental crack patched
Works with any content
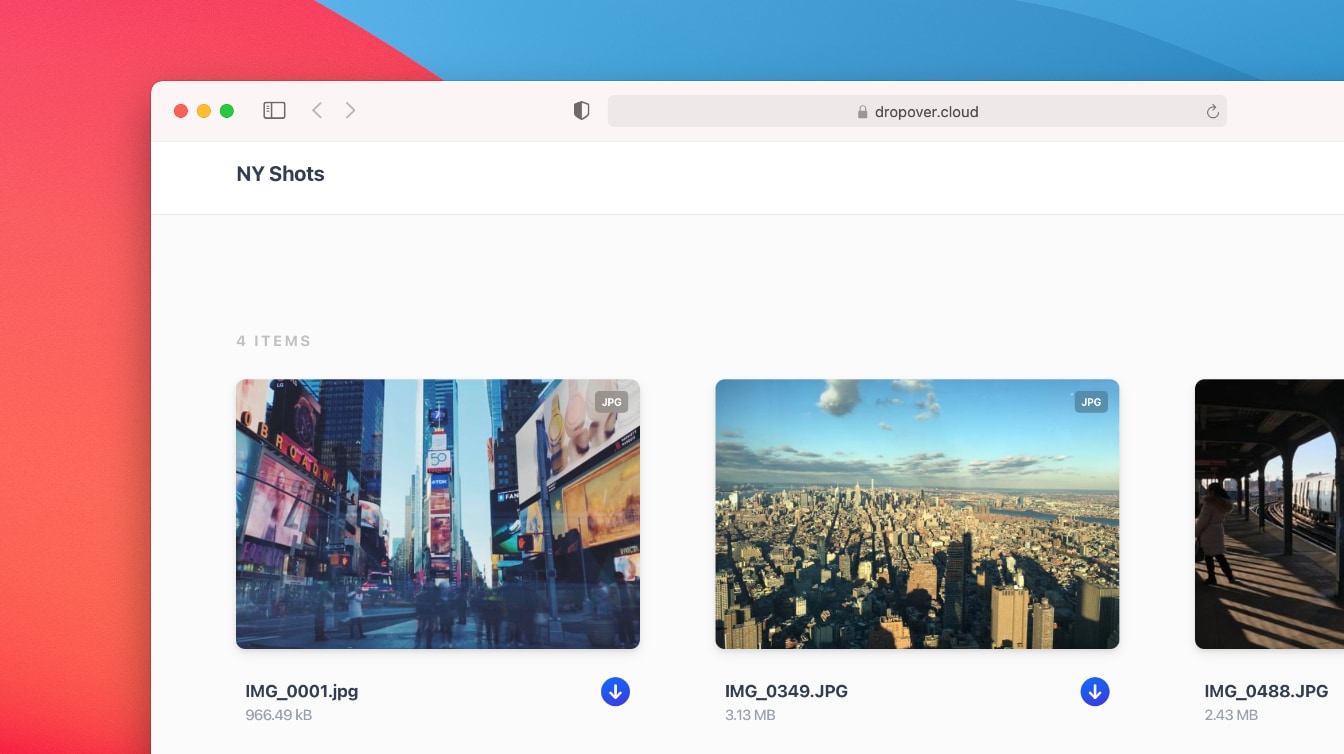
Manage your files
Easily view, manage, and organize individual files. Arrange, rename, and delete items directly from the shelf, keeping your workspace clutter-free and organized. This generates new triangles as you sculpt, ensuring
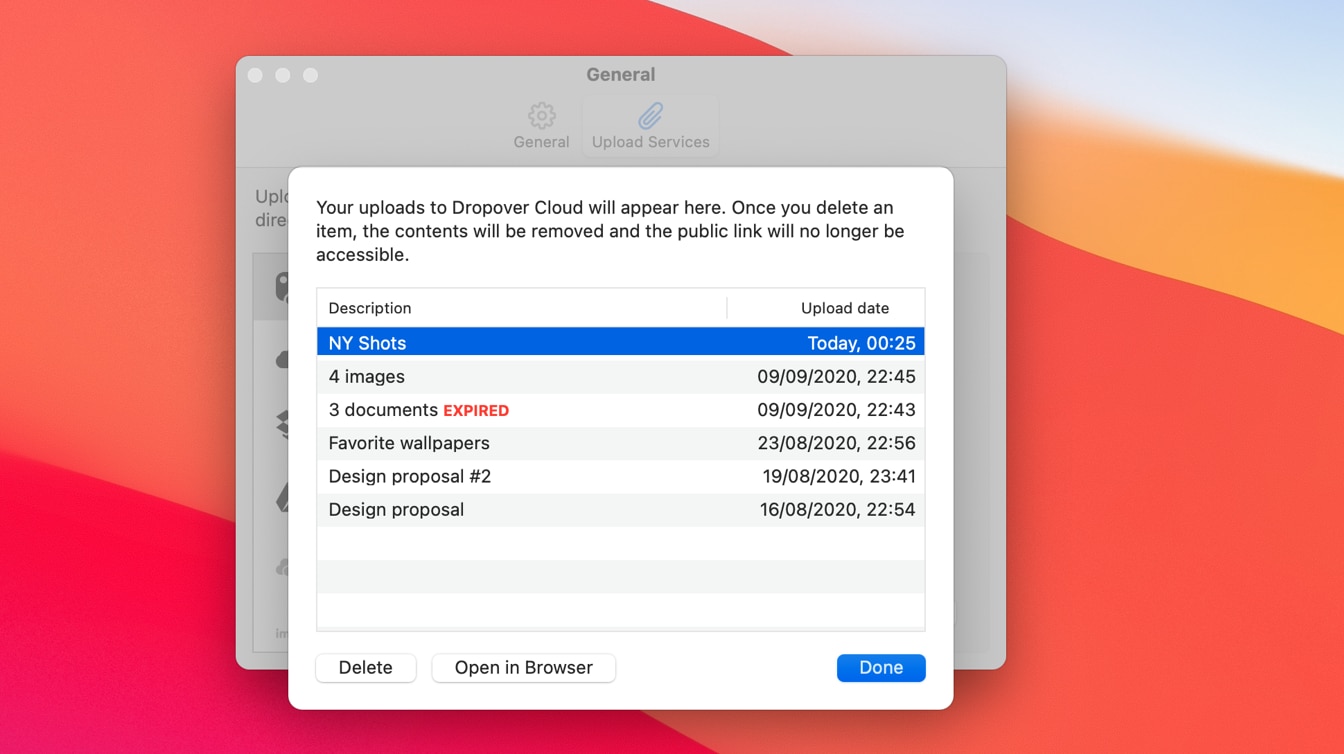
Customizable to your workflow
Tailor Dropover to match your workflow. Name and color-code shelves for easy organization, create custom actions for quick tasks, and personalize settings to suit your unique needs.

Instant Actions
Instant Actions appear when you drag files over an empty shelf. Just drop the files onto an action to directly invoke it.